As electric vehicles (EVs) continue gaining popularity worldwide, more drivers are choosing at-home charging for convenience, efficiency, and long-term savings. Whether you’re switching from a gas-powered car or just purchased your first EV, learning How to Install an EV Charger at Home is one of the smartest upgrades you can make.
This comprehensive guide gives you every detail you need—costs, installation requirements, charger types, electrical load needs, permits, safety tips, and step-by-step instructions. Written with expert-level depth and clarity, this guide will help you make informed decisions while ensuring your installation is safe, compliant, and future-ready.
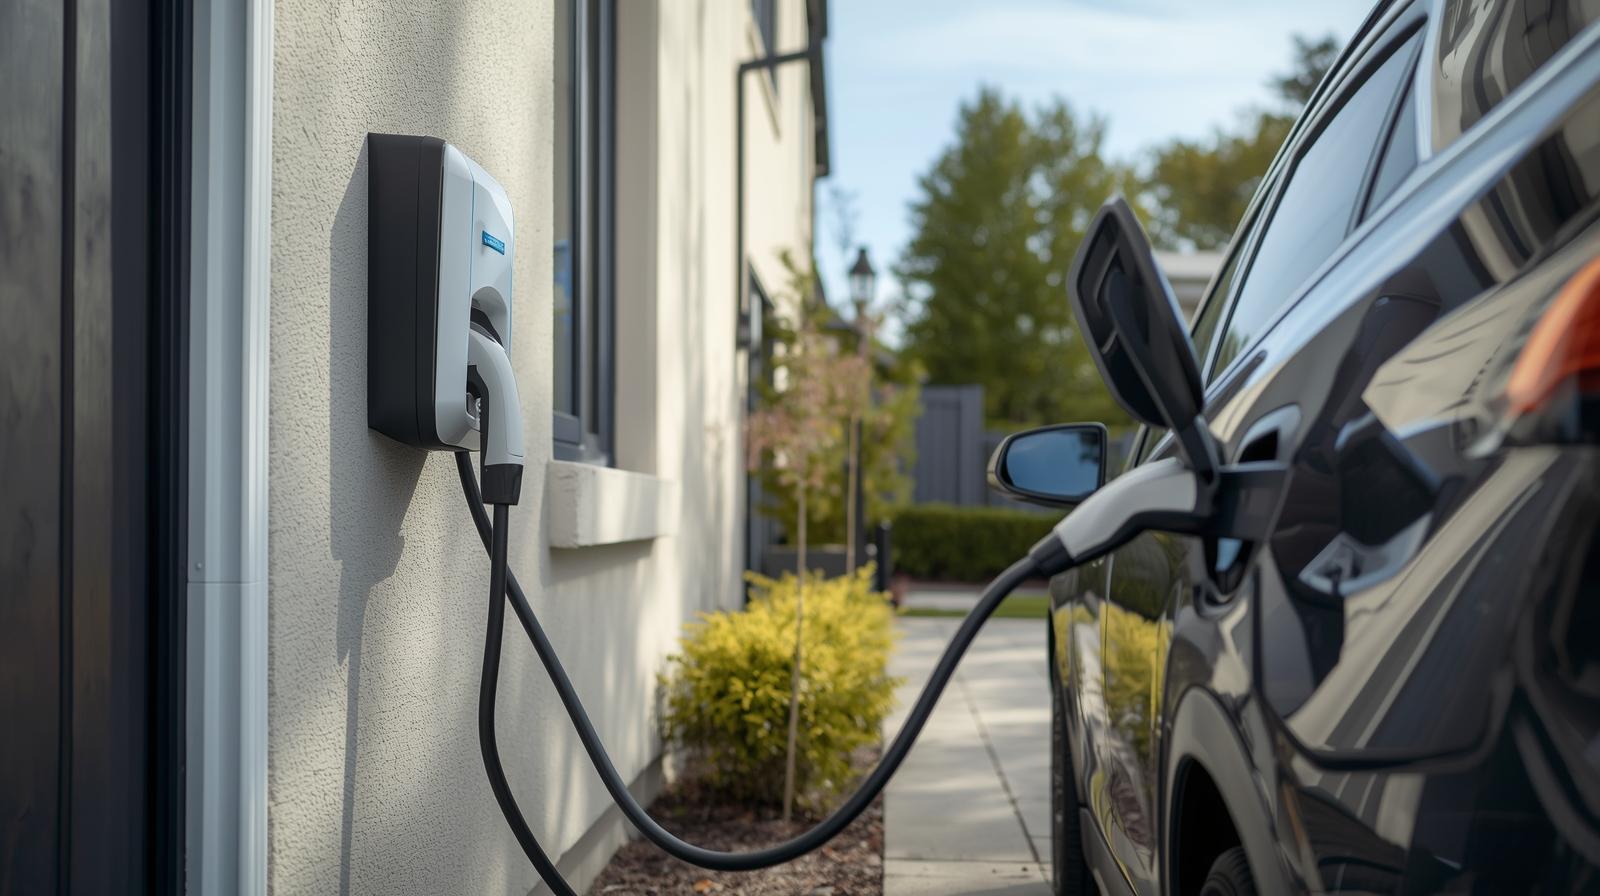
What Is a Home EV Charger?
A home EV charger is a wall-mounted or pedestal-mounted charging unit that supplies electric power directly to your electric vehicle. Unlike public chargers, a home charger is designed for daily overnight charging, convenience, and lower electricity costs.
Understanding How to Install an EV Charger at Home begins with choosing the right charger and ensuring your home’s electrical infrastructure can support it.
Benefits of Installing an EV Charger at Home
Installing a home charger offers several major benefits:
Convenience
Charge while you sleep—no waiting in public charging lines.
Cost Savings
Home electricity rates are cheaper than public Level 3 fast charging.
Increased Home Value
Homes with EV charging capability are more attractive to future buyers.
Faster Charging
A Level 2 home charger delivers 4–7 times faster charging than a standard wall outlet.
Better Battery Health
Slow, consistent charging helps maintain battery longevity.
These advantages make understanding How to Install an EV Charger at Home essential for any EV owner.
Types of Home EV Chargers
When learning How to Install an EV Charger at Home, start by selecting the correct charger type.
Level 1 Charger (Standard 120V Outlet)
- Comes with most EVs
- Adds 3–5 miles of range per hour
- No installation required
This is good for minimal daily driving but not ideal for long commutes.
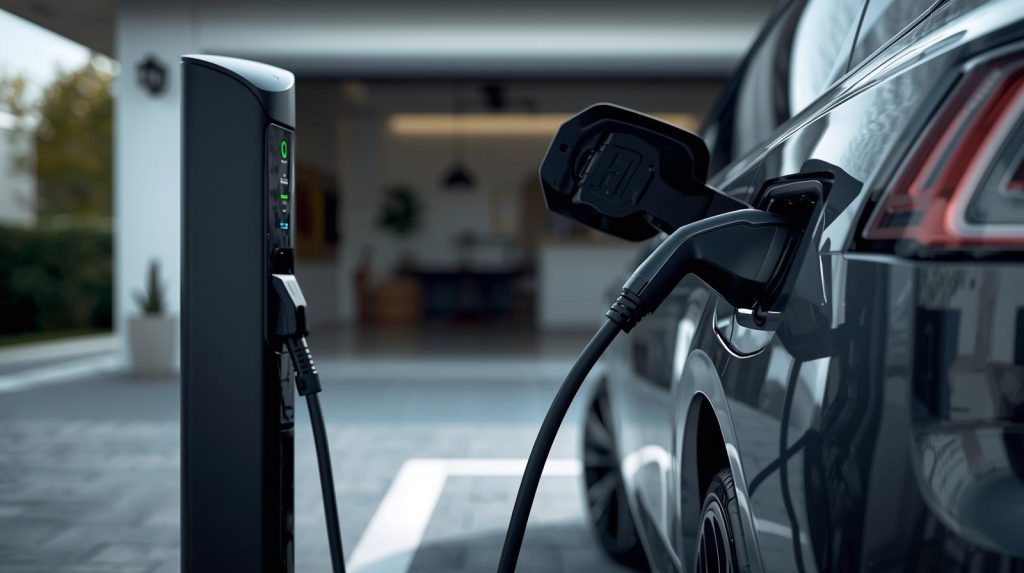
Level 2 Charger (240V Outlet)
- Adds 20–40 miles of range per hour
- Requires professional installation
- The most popular and practical home charging option
This is the type most users mean when they ask:
“How to Install an EV Charger at Home?”
Level 3 Charger (DC Fast Charger)
- Adds 150+ miles in 20–30 minutes
- NOT suitable for home use
- Requires commercial-grade power
What You Need Before Installing an EV Charger
Before beginning the installation process, prepare the following:
A 240V dedicated circuit
Similar to what powers dryers or ovens.
Adequate electrical panel capacity
Your panel must support the added load without risk.
Charging location
Most choose a garage wall or driveway.
Charger unit
Brands include Tesla, ChargePoint, JuiceBox, Emporia, and Wallbox.
Permits
Required in many areas for safe and legal installation.
Professional electrician (recommended)
Unless you have advanced knowledge of residential electrical work, hiring a certified electrician is the safest route.
Step-by-Step Guide: How to Install an EV Charger at Home
Below is your complete expert guide on How to Install an EV Charger at Home, from inspection to activation.
Step 1: Evaluate Your Home’s Electrical Capacity
Most Level 2 chargers require 240V and 30–60 amps.
An electrician will check:
- Your main panel’s capacity
- Breaker size
- Wire gauge
- Available slots
If your home cannot support a new circuit, you may need a panel upgrade.
Step 2: Select the Right Charger
Consider:
- Charging speed (kW rating)
- Smart features (Wi-Fi, apps, scheduling)
- Cable length
- Vehicle compatibility
- Weatherproof rating for outdoor installation
A 40-amp charger is ideal for most homes.
Step 3: Choose the Installation Location
Ideal locations:
- Inside garage (best protection)
- Exterior wall close to driveway
- Near the electrical panel to reduce wiring cost
Keep cable reach in mind—most prefer 20–25 feet.
Step 4: Install a Dedicated 240V Circuit
This step includes:
- Installing a double-pole breaker
- Running conduit and wiring to the charger location
- Mounting a NEMA outlet (for plug-in chargers) or direct hardwiring the unit
This step is critical in How to Install an EV Charger at Home because incorrect wiring can cause fires or damage.
Step 5: Mount the Charger
Use the manufacturer’s template to:
- Drill pilot holes
- Anchor the wall mounting bracket
- Attach the charger body
- Ensure proper height and alignment
Most chargers recommend mounting at 18–48 inches above the floor.
Step 6: Connect the Charger
Depending on the model:
- Plug-in chargers: Plug into the 240V NEMA outlet
- Hardwired chargers: Wires are directly connected within a junction box
A hardwired connection provides better weather resistance and durability.
Step 7: Test the Charger
Before charging your vehicle:
- Test voltage output
- Check for grounding issues
- Ensure breaker stability
- Confirm Wi-Fi connectivity (if applicable)
Step 8: Charge Your EV
Now you’re ready to plug in and enjoy fast, efficient home charging.
Electrical Load Assessment
Load calculation determines whether your home can safely handle an EV charger.
Electricians evaluate:
- Main panel amperage (100A, 150A, 200A)
- Existing home appliances
- Peak usage patterns
- Future upgrades (solar, second EV, etc.)
This step prevents overloads that can trip breakers or damage wiring.
Required Tools & Equipment
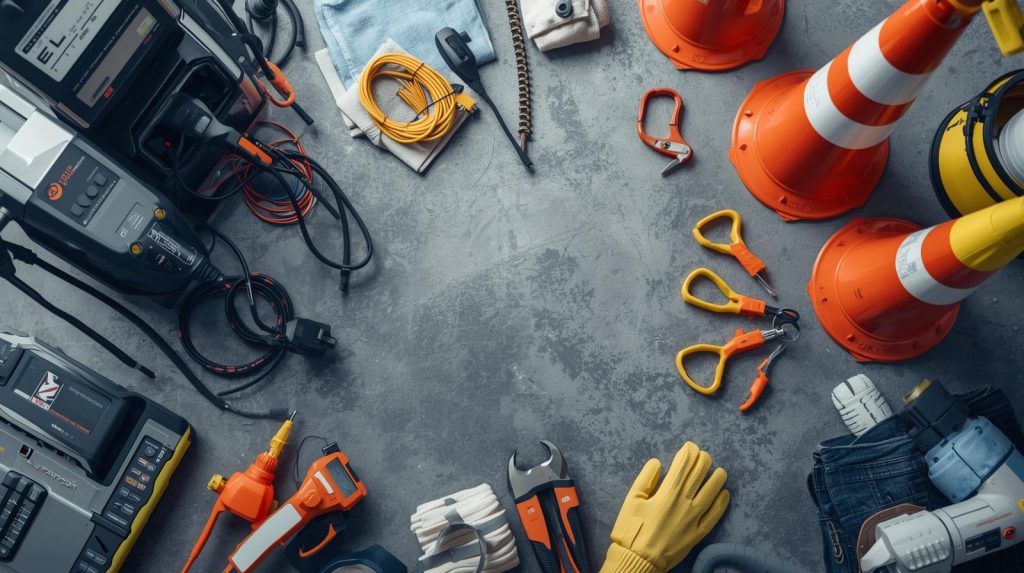
If doing the installation yourself (not recommended unless skilled), you will need:
- Voltage tester
- Screwdrivers
- Wire stripper
- Hammer drill
- Level
- Conduit and fittings
- Appropriate gauge wire
- Breaker compatible with your panel
Do You Need a Permit for Home Charger Installation?
In most regions—Yes.
Permits ensure:
- Proper electrical work
- Code compliance
- Safety inspection
Skipping permits can cause issues during home sales or insurance claims.
Cost to Install an EV Charger at Home
Typical cost breakdown:
| Component | Cost Range |
|---|---|
| Level 2 Charger Unit | $300–$900 |
| Basic Installation | $300–$800 |
| Long Wiring Runs | $500–$1500 |
| Panel Upgrade | $1200–$3000 |
| Permit Fees | $50–$200 |
Total Estimated Cost: $700–$2,500
Understand these costs to plan for How to Install an EV Charger at Home effectively.
Common Mistakes to Avoid
- Using undersized wire
- Installing without permits
- Mounting too far from vehicle
- Ignoring weatherproofing
- Overloading the electrical panel
Safety Tips
- Always turn off power during installation
- Avoid extension cords
- Use certified lab-tested chargers (UL, ETL)
- Keep cables away from water
- Check charger regularly for wear
Smart Features to Consider
Modern chargers offer:
- Wi-Fi connectivity
- Mobile apps
- Charge scheduling
- Power usage tracking
- Compatibility with solar systems
These features improve charging efficiency and long-term cost savings.
When Should You Hire an Electrician?
You should hire a professional if:
- You don’t understand electrical panels
- You need a 240V line installed
- Wiring distance exceeds 20 feet
- A panel upgrade is required
Most homeowners do not have the experience to safely complete this job alone.
Conclusion
Understanding How to Install an EV Charger at Home is the key to unlocking cheaper, faster, and more convenient charging for your electric vehicle. With the right setup, charger type, installation method, and safety precautions, your home becomes the most efficient and dependable place to charge your EV.
Whether you install the system yourself or hire a certified electrician, this guide ensures you make informed, cost-effective, and safe decisions for long-term success. As EV adoption grows, having a reliable home charger is no longer a luxury—it’s an essential upgrade every EV owner should consider.
FAQs
1. How much does it cost to install a Level 2 EV charger?
Typically between $700–$2,500 depending on wiring, location, and panel capacity.
2. Can I install an EV charger myself?
You can, but only if you have electrical knowledge. Most homeowners should hire a licensed electrician for safety and code compliance.
3. How long does installation take?
Most installations take 2–4 hours. Panel upgrades may take longer.
4. Do I need a permit?
Yes, most regions require electrical permits for installing a 240V circuit.
5. Can an EV charger be installed outside?
Definitely—most EV chargers have outdoor weather ratings.
6. Do EV chargers increase home value?
Yes, homes with charging access are more appealing to EV buyers.
7. What size breaker do I need?
Most Level 2 chargers require a 40-50 amp breaker, depending on the model.
8. How far can the charger be from the panel?
There is no limit, but longer distances increase cost due to wiring and conduit needs.